The type of 3D printers that we have are known as FDM printers. These work by heating up filament (mostly plastic) until it’s soft, and then putting down layers of filament in the shape of your model.
In other words, your model will be built from the bottom up, layer by layer. Of course, this means that in order to be able to print a model, you have to divide it into layers!
This process of dividing your model into layers is known as slicing – because you’re slicing your 3D model into layers. We have to use special software to slice models and set them up to be 3D printed. There are a few different programs that you can use for working with the 3D printers at school, depending on which printer you want to use. All of this software is free to download and use, and available from the suppliers websites:
- FlashPrint is very beginner-friendly, but more limited in functionality. It works with the FlashForge printers.
- Orca-FlashForge is more complex to use, but offers more functionality. It works with the FlashForge printers.

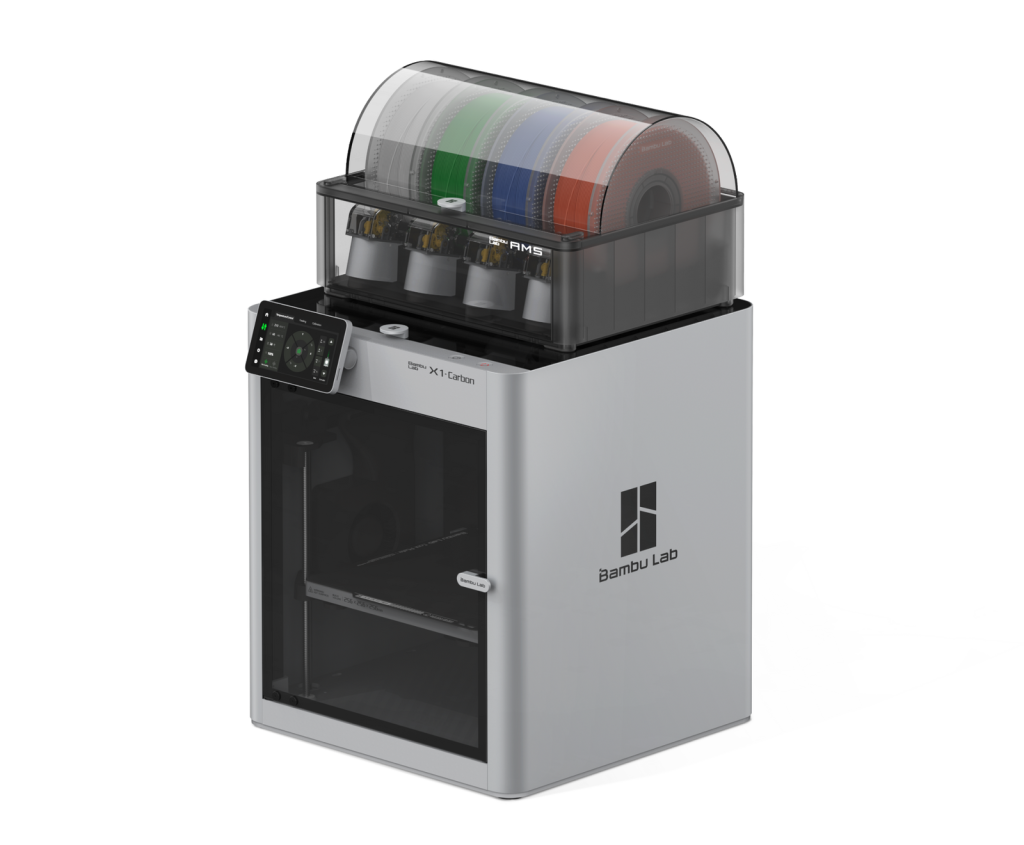
Bambu Studio works with the Bambu Multifilament printer.
Ultimaker Cura works with the Ultimaker printers.
Guides for installing, setting up, and printing using the different slicers and printers can be found below: