Installing
- Click the FlashPrint version for your computer from the download site here
- Click the download button
- Click “Download Anyway”
- Open the downloaded .zip file
- Extract the file into your downloads folder
- Run the .exe install file
- Follow the instructions within the setup dialog to install FlashPrint 5 and its associated drivers
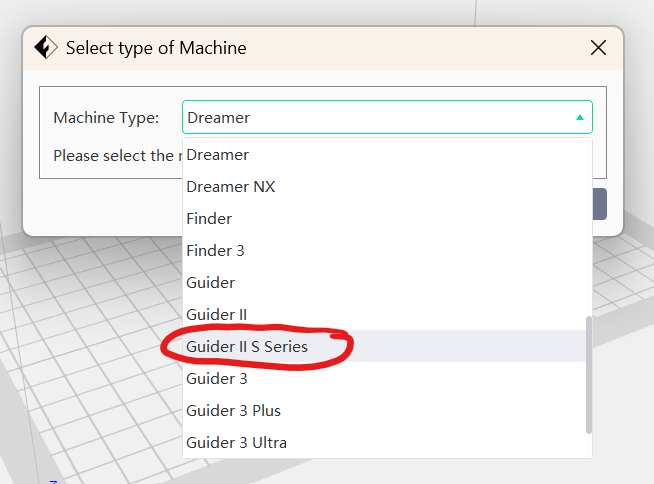
- Launch FlashPrint 5
- Select “Guider II S Series” from the “Machine Type” drop-down list
Slicing a Model

- Open your downloaded .stl 3D model file in FlashPrint, either by
- double-clicking on it from your downloads folder (if it has the FlashPrint logo next to it)
- right-clicking on it, selecting “Open with..” and choosing FlashPrint
- dragging your file from the explorer into FlashPrint 5 if it is already open
- selecting “Load File” from the “File” menu in FlashPrint 5
To navigate around your model in FlashPrint:
- left-click and drag to pan
- right-click and drag to rotate
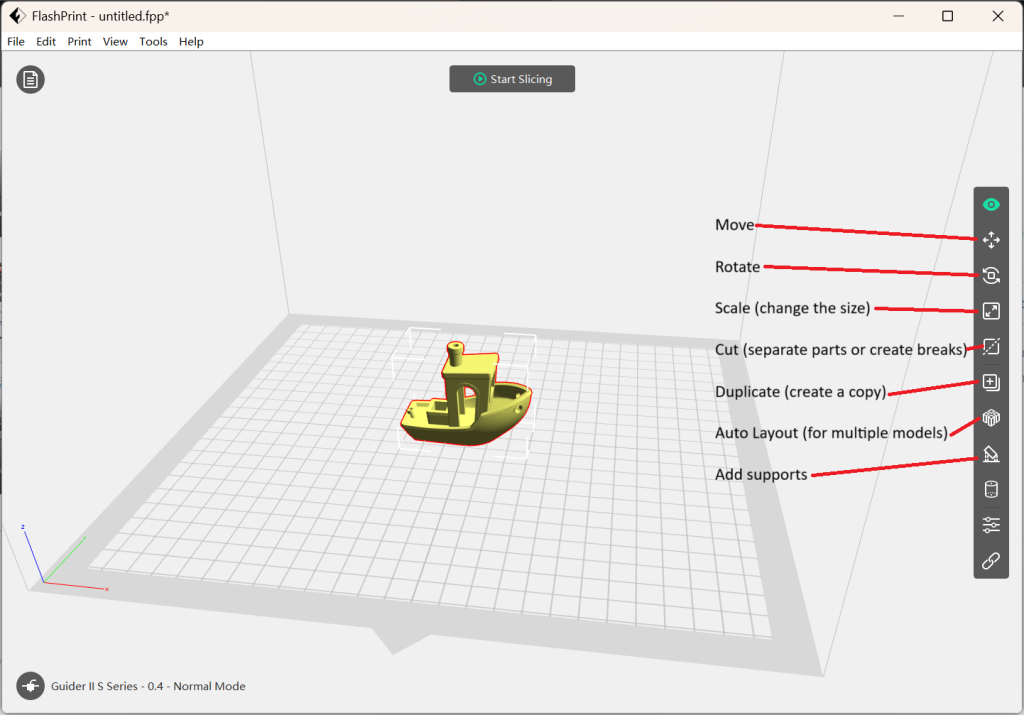
To manipulate, or change, your model, or models, use the buttons on the right-hand side of the window. A good rule of thumb is to try to rotate and align your model so that the largest flat surface is on the print bed. You can easily do this in the “Rotate” menu by ticking the “Surface to Platform” box and then clicking on the surface you want to put facing downwards.
Supports
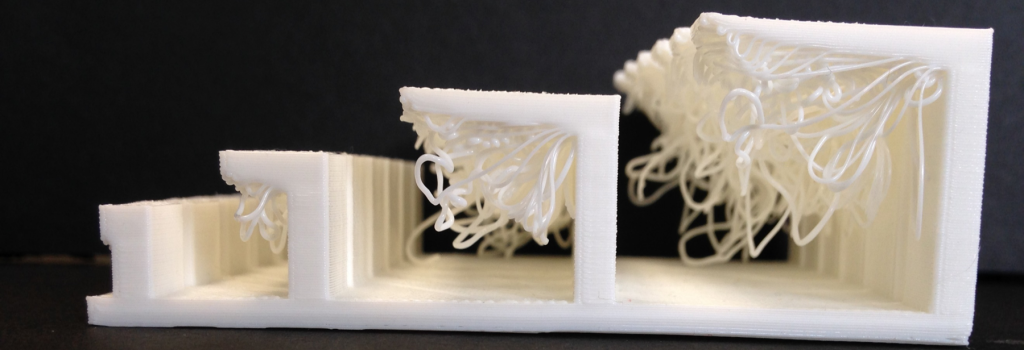
If your model has any overhanging parts – parts that don’t have anything immediately underneath them – it is important that you add supports to it to print. Remember that 3D printing works by laying down material from the bottom up, so if you have parts or areas that don’t have anything underneath them, there won’t be anything to put the filament down on, and the print will fail!
There are two types of supports you can add: treelike or linear. Whichever you choose, it is easiest to use the “Auto Supports” option in FlashPrint 5 to add them to your print. Note that you can’t resize or rotate your model once you’ve added supports.
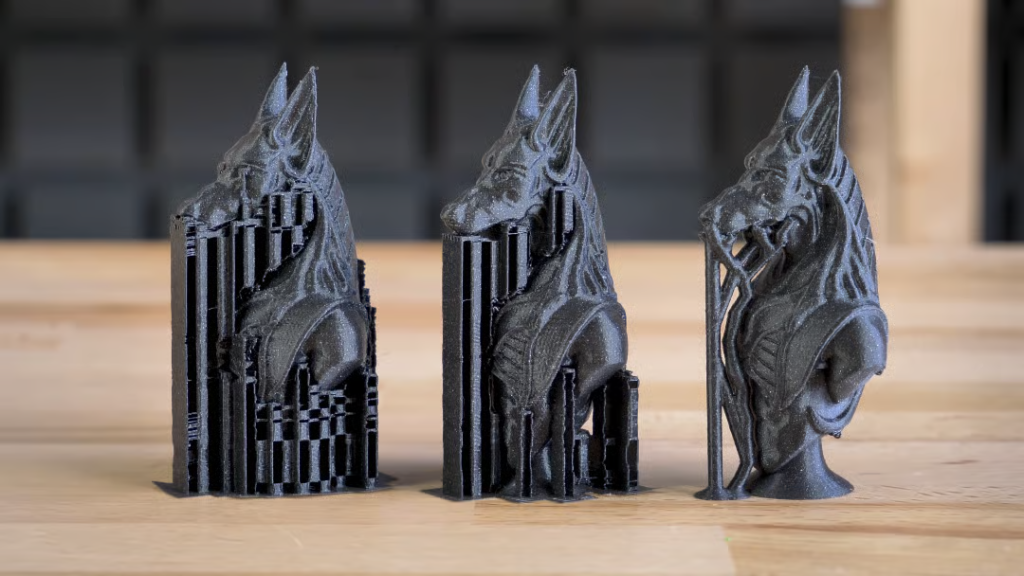
- Linear are best for flat overhangs, particularly over large areas. Linear supports are thin, flat columns that rise upwards, and alternate back and forth underneath the print, so that they will (usually) come off in one piece. Linear supports are very stable over large areas, but have a risk of damaging the underside of prints because of the large amount of connection between the supports and the print.
- Treelike are best for non-flat overhangs, like the tips of noses and fingers on characters. Treelike supports are less likely to damage the underside of prints, as they only touch at very small points, but are less stable.
Slicing
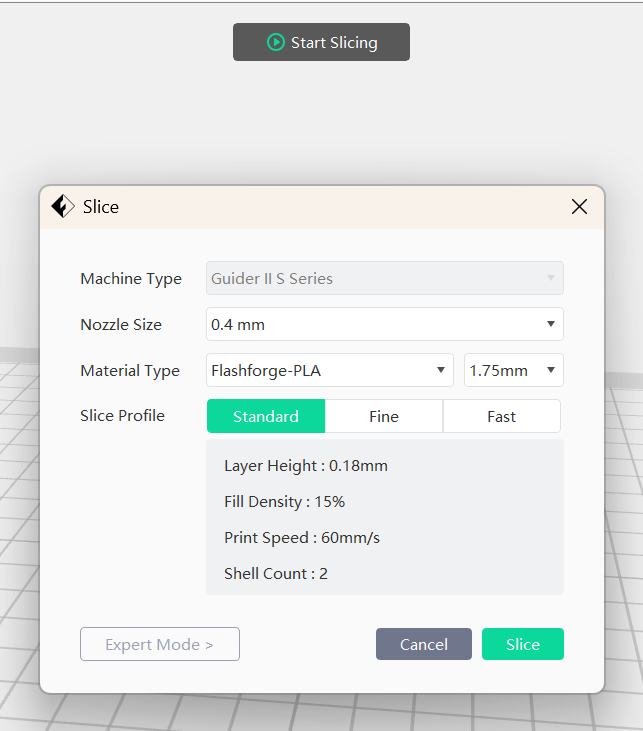
Once you have put your model into FlashPrint, and are happy with the size, rotation, and supports on it, it’s time to slice it! Do this by clicking the “Start Slicing” button at the top of the window.
Generally, the ‘Standard’ print settings will be fine – although if you are printing a first draft or prototype, you might want to use ‘Fast’ settings to speed things up!
Once your model is sliced, you can click on the “Slice Preview” button to see how long it will take and how much material it will use.
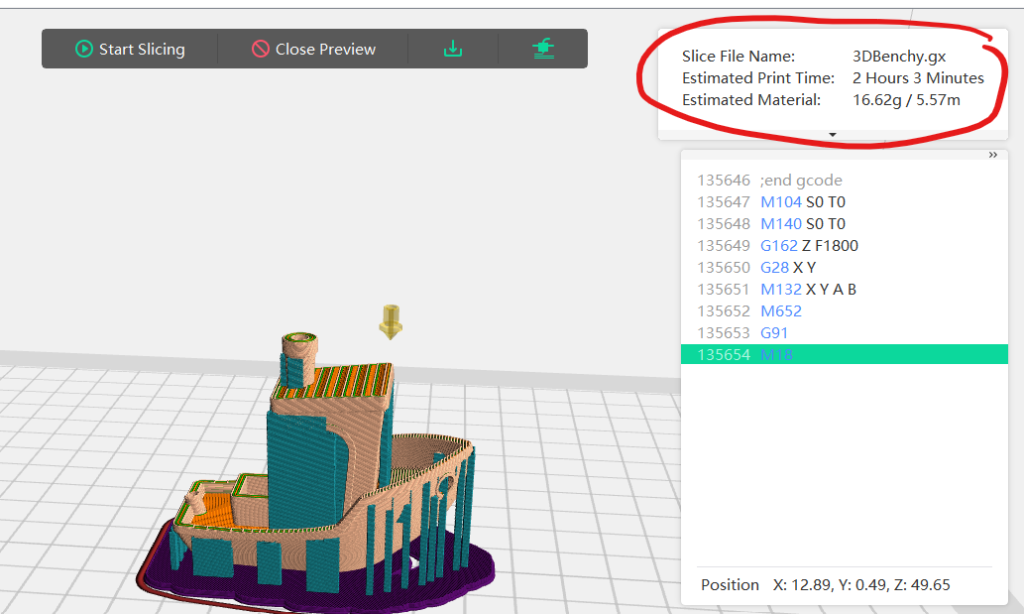
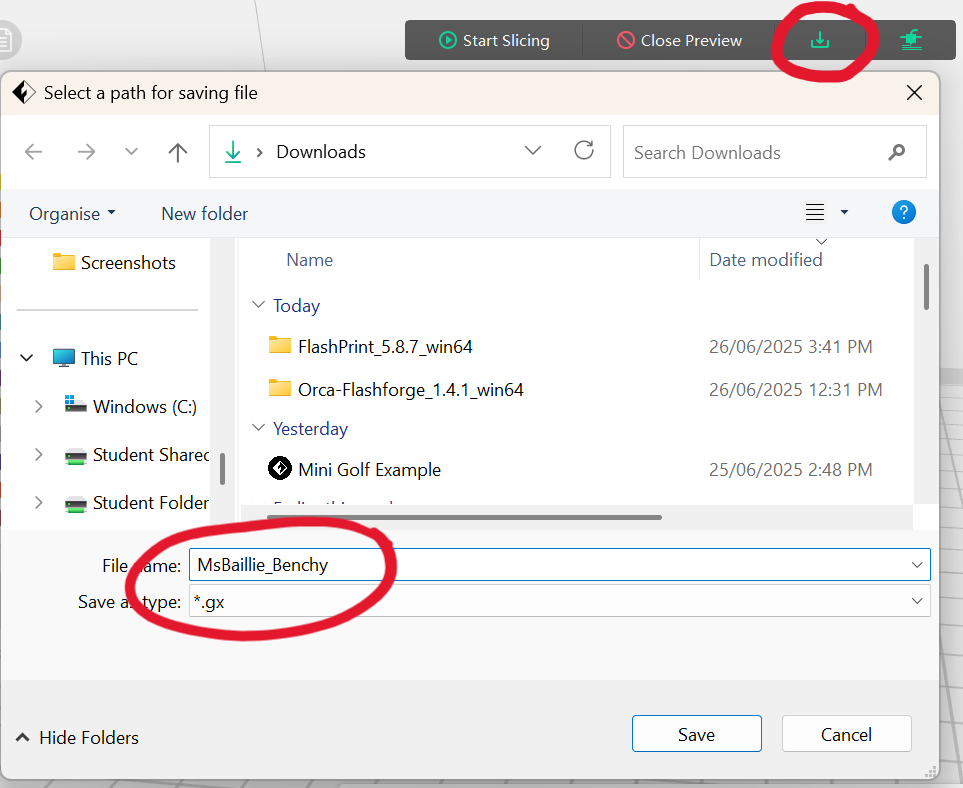
Finally, click on the download/”Save to Local” button to save your print file to a USB, ready to be put on the printer! Make sure to save your file with your name and a simple descriptor or title of what you’re printing, so that it’s easy for your teacher to keep track!